If you think making scones requires an oven, think again! Making a nice batch of rustic wood stove scones is easier than you might think. And an added bonus: you can make them even when the electricity is out!

We lost power for a few days this past week. Living on a farm, that meant water (because it’s pumped out by a well that requires power) as well as lights and electric heat.
But the secret weapon I still possessed was my wood stove–for both heat and cooking. My wood stove essentially became my best friend!
By day three I was craving some kind of comfort food with my morning tea and decided to try making wood stove scones in my cast iron pan. To my delight, it worked!
You don’t need to lose power to try baking rustic scones on a wood stove. It’s easy. And there’s something so satisfying about playing ‘pioneer woman’ if only for a moment (and still in a pretty modernized way).
The first thing you’ll need to ‘bake’ your scones is a toasty warm wood stove. Get a nice fire going. You want it warm enough to cook your food, but not so hot to scorch the bottom and leave the rest raw. Unless you have a sophisticated system, you’ll need to rely on your gut here, but don’t worry. It’s not as complicated as it seems. (And my experience says make it hotter than you think it needs to be!)
Once you have a warm fire going, make the scone dough. This is pretty much like regular scone dough, but with less liquid so it’s not quite as sticky.
Rustic Wood Stove Scones
Ingredients:
1 1/4 cups flour or flour substitutes*
1/2 cup oatmeal
1/2 cup coconut sugar or other granulated sugar of choice
1/4 teaspoon baking powder
1/2 teaspoon salt
1/4 teaspoon baking soda
1/2 cup butter, chilled
1 egg
2 tablespoons milk or milk substitute (I used almond milk)
1/4 teaspoon grated orange peel (optional)**
1/2 teaspoon vanilla extract
2-3 drops orange essential oil (optional)**
a handful of currents, dried cranberries or raisins (optional)**
oil for the pan when cooking
* Because I’m gluten-free, I used a combination of almond flour, Bob’s 1-to-1 flour mix, and a bit more oatmeal. But regular all-purpose flour will work great for those without food restrictions.
**the orange peel, orange oil, and dried fruits can be substituted for any flavorings of your choice–lemon, nuts, dates, cinnamon or other spices, chocolate chips, etc.
Scone Dough Directions:
Mix all the flour, oatmeal, sugar, baking powder, salt, and soda together in a medium sized bowl. Add the chilled butter. I like to cut it roughly into slices first so it’s not just one big chunk.
Using a pastry cutter (or a couple of butter knives), chop the butter up and mix with the flour mixture. You want it to seem like coarse crumbs with little chunks of butter mixed throughout.
Mix the egg, milk, vanilla and other flavorings in a second, small bowl. Add it to the dry mixture. This should create a dough that’s slightly sticky, but easily manageable.
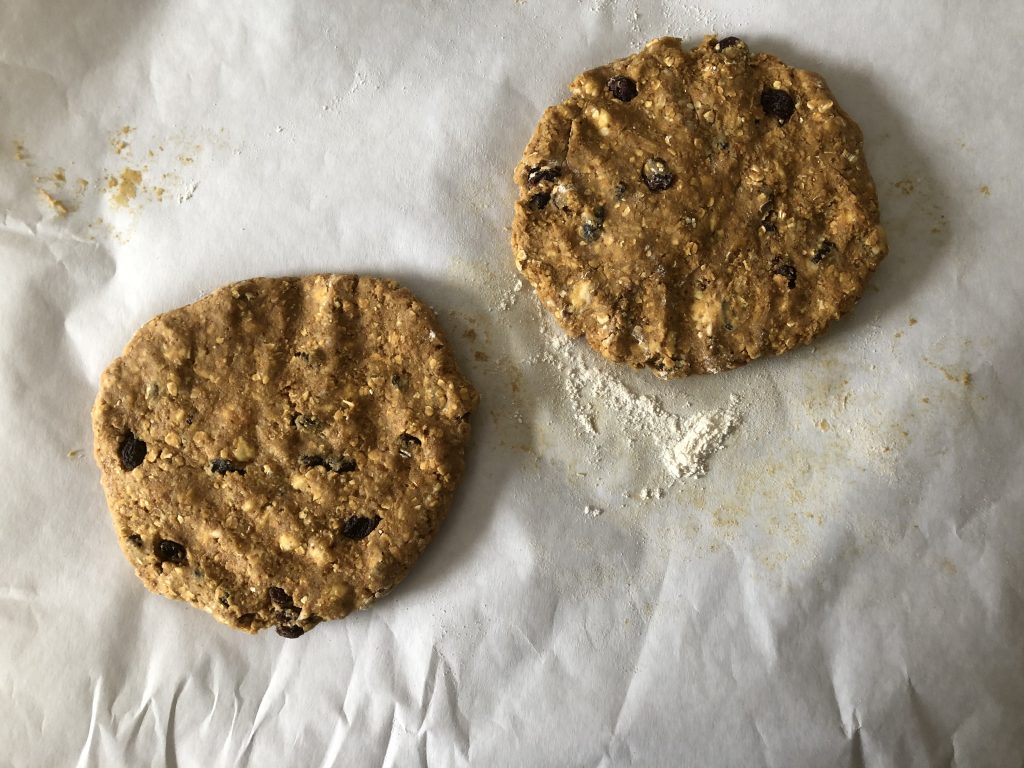
Remove this dough to a lightly floured surface. Break into two pieces. Pat one piece at a time into a 6 or 7 inch round. If you’re adding fruit or nuts, add it to the top of your round, then, fold it in half and in half again until distributed throughout and then re-pat into a round. Cut into 6 wedges.
Repeat with the second chunk of dough (You’ll only be able to cook one wedge at a time in a single pan).

Wood Stove Cooking Directions:
Depending on how quickly you work and how hot your fire, place a large cast-iron pan on top of your wood stove before you pat your dough and cut wedges (if you work quickly), or after your wedges are cut (if you’re unsure of your timing).
Either way, you’ll want to give your pan enough time to thoroughly heat up to something similar to the heat of the stovetop on medium heat. A good way to test the proper heat of your pan is to drop a bit of water on the surface. If it sizzles, it’s hot enough.
Once hot, lightly oil the pan and carefully place your scone wedges into the pan, spacing them equally apart (they will rise and get bigger as they cook).
Place a lid over the top of the pan and let them cook for 8 minutes or so before checking their done-ness. How fast or slow they cook depends on the heat of the fire in your wood stove. When the scones are done, they will be golden brown on the bottom, won’t look shiny/wet on top, and you’ll be able to stick a toothpick in them that will come out clean.
If you’re using regular flour, you have the option of flipping the scones halfway through the cooking and continue to cook from the other side. Gluten-free scones are too fragile to handle the flipping, but this step isn’t necessary as having a lid on top of the pan aids in cooking and they’ll cook evenly clear through without flipping.
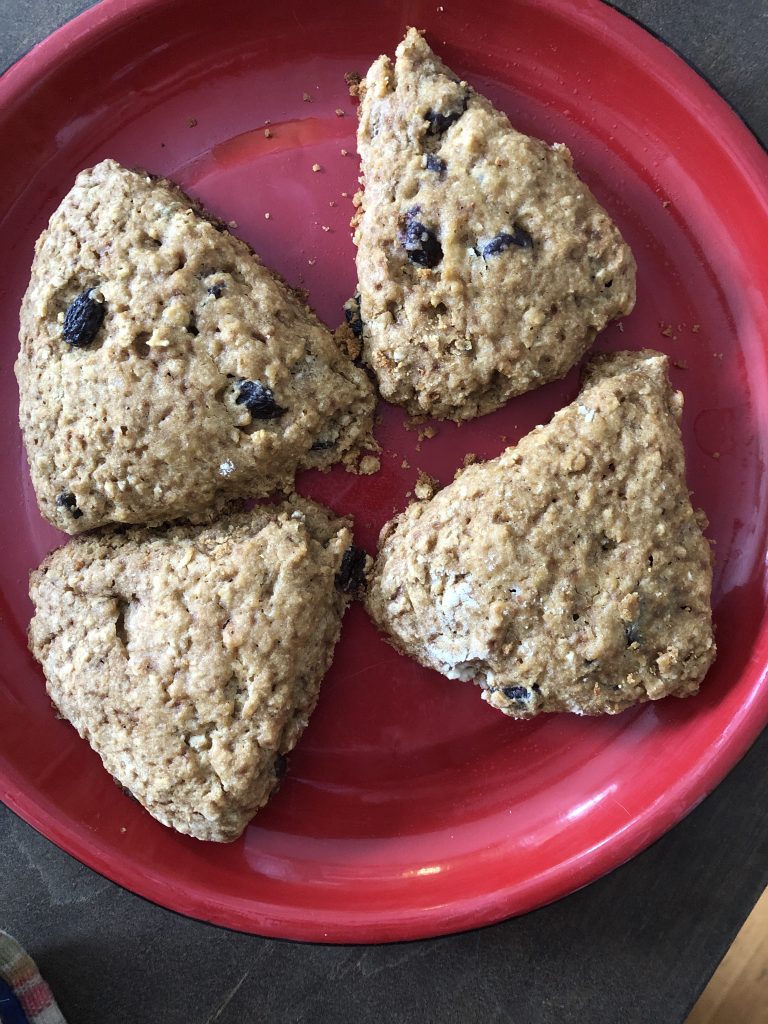
That’s it. Before you know it, you have rustic wood stove scones piping hot and fresh from the woodstove.
Would you like more scone recipes? Try my favorite pumpkin scones.
The post How to Make Rustic Wood Stove Scones appeared first on CITY GIRL FARMING | Sustainable Living for Regular People.


